|

Shot and VFX Breakdown - Page 7
|
| Composite shot using footage from Episode 1 and a still
from Episode V. |
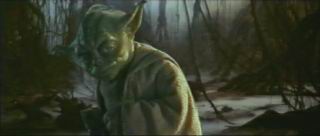 |
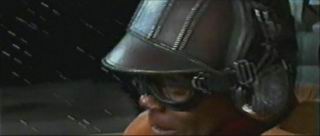
Shot from Episode 1.
Masked and flipped horizontally. |
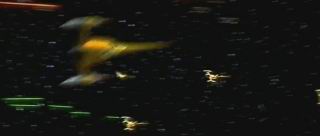 |
Shot from Episode 1.
Masked and flipped horizontally. |
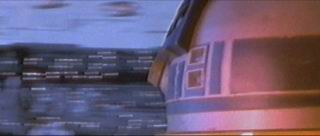 |
|
Composite shot using footage from Episode 1 and BBC documentary
Walking with Dinosaurs.
|
 |
|
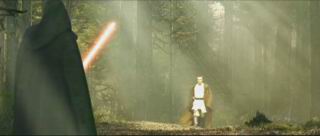
Shot fromFrom Star Wars to Star Wars: The Story of Industrial Light
& Magic TV documentary.
Masked shot.
|
 |
| Intro | 1
| 2 | 3
| 4 | 5
| 6 | 7 | 8
| 9 | Other
Footage |

