|

Shot and VFX Breakdown- Page 5
|
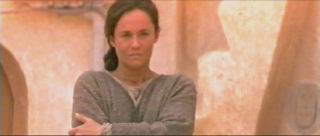
Shot from Episode 1.
Masked and flipped horizontally. |
 |
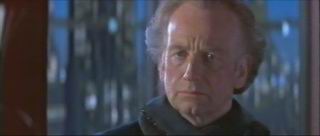
Shot from Episode 1.
Masked and flipped horizontally. |
 |
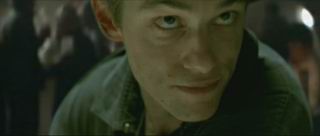
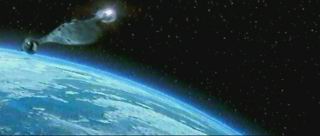
| Composite shot using footage from Episode IV and
The Matrix. |
 |
|
The shot was stabilised and the edges of the image extended to fill the
frame.
|
 |
|
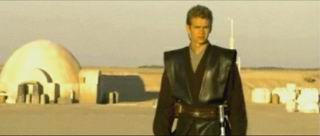
Shot from Episode 1.
Masked and flipped horizontally and vertically.
|
 |
| Intro | 1
| 2 | 3
| 4 | 5 | 6
| 7 | 8
| 9 | Other
Footage |

![[TFN FanFilms Now On YouTube.com]](/fanfilms/images/fanfilm-youtube.jpg)