Creating Lightsaber Blades in Adobe Photoshop 5.5
by Michael Hobson
Here we will go step-by-step through my method of creating lightsaber blades on existing photos using Adobe Photoshop Version 5.5. I'm not very familiar with the other versions of Photoshop, so the technique here may not work in whatever version you have. If you're using 5.5, however, this is just what you need. Chances are a lot of you know Photoshop quite well, but I've written this so just about anybody can pick up a mouse and do it.
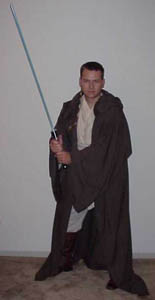
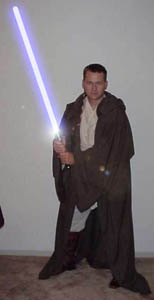
Here we see a picture of Jobiwan holding his lightsaber with the guide-stick. This is the first picture we will play with.
Now, the first step we want to do is add a new layer. Go to the Layer menu, select New, Layer. Choose a name (Layer-1 works fine). The picture will remain unchanged.
What we've done here is basically create a transparent sheet over the top of the picture. This layer is where we will be doing all of the saber work. You'll see why later.
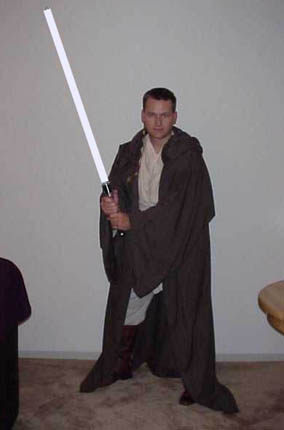
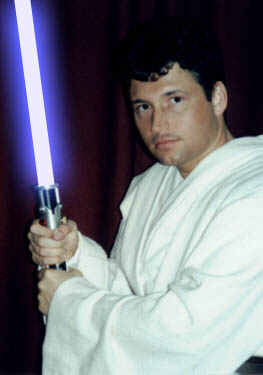
Now what we want to do is draw the blade itself, the white "core" of the saber. Very simple, just use Photoshop's Line tool. The blade in this picture is 10 pixels wide, but this will vary from picture to picture, as well as personal preference.
In my pictures, I've chosen not to use a plain white core, but rather a very pale blue color, to try to get the point across that the blade is blue, and it's glowing very brightly. When drawing the blade, the idea is simply to cover up the old plastic blade. I start at the hilt end, and draw up until the line will come just shy of the tip. Now it looks something like this:
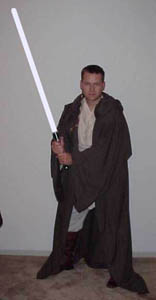
The next step will be to finish the blade off. As you can see above, it looks kinda? well, fake and drawn in. Use the Zoom tool to zoom in an insane level to the tip of the blade. Use the
Paintbrush tool to add the rounded end of the blade. The Paintbrush tool should be drawing only one pixel wide. It should look something like this:

You can also use the Zoom and Paintbrush tools to patch up the end of the blade coming out of the hilt, if necessary. The blade should now look like this:
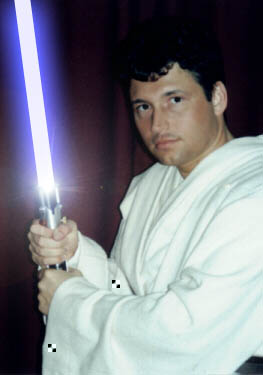
Now comes the part that makes the blade look it's best. The Glow. Every lightsaber needs one, right? This is perhaps the simplest part of the process. We've been using the layer to draw
on, and here's why. Go to the Layer menu, down to Effects, and select "Outer Glow". A small dialog box will pop up with the glow options. Set the color to a shade of blue (personal preference here), Opacity to 100%, Blur to roughly 20-25 pixels, and Intensity to about half (roughly 250 or so). The Blur and Intensity can be adjusted to your personal preference. You'll be
able to see the changes happening to the picture behind the dialog box. Basically just play with it until the blade looks the way you want it. Click OK and you're done! Picture-perfect glow effect. Should look a little something like this:
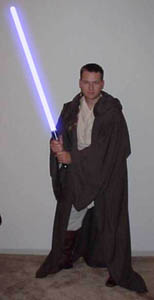
And if you like, you can add a small lens flare (105mm, 50% brightness) to the base of the blade, where it exits the hilt. This just looks cool, and I like to throw it in there for no other reason
than that. The final picture looks like so:
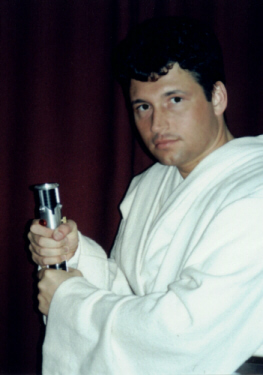
Here's the same effects applied to MJF's icon picture, step by step:

![[TFN FanFilms Now On YouTube.com]](/fanfilms/images/fanfilm-youtube.jpg)