| shot | preview | description |
|---|---|---|
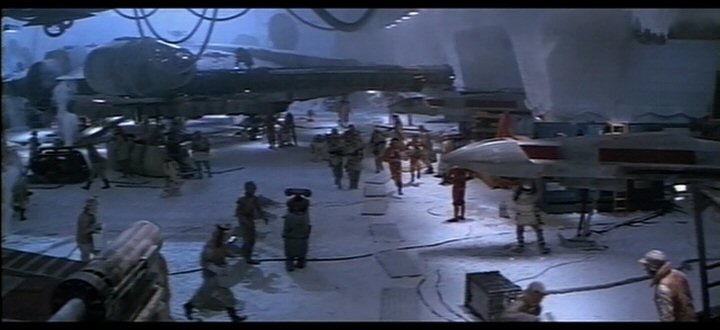
| A001 |
|
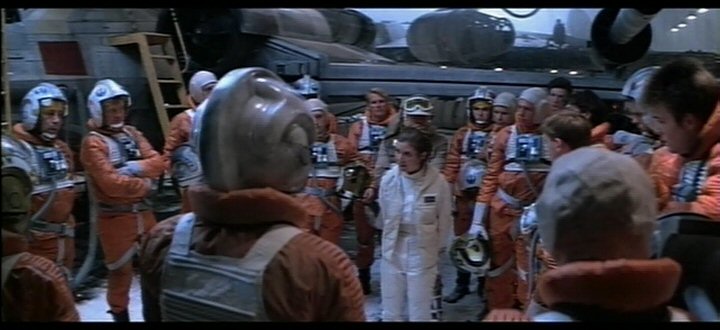
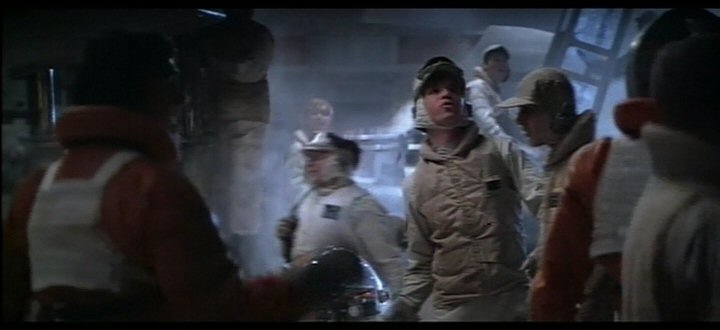
While Solo works to make his freighter spaceworthy, Princess Leia briefs the rebel combat pilots in the northern hangar of the base. |
|
||
|
||
|
||
|
||
| A002 |
|
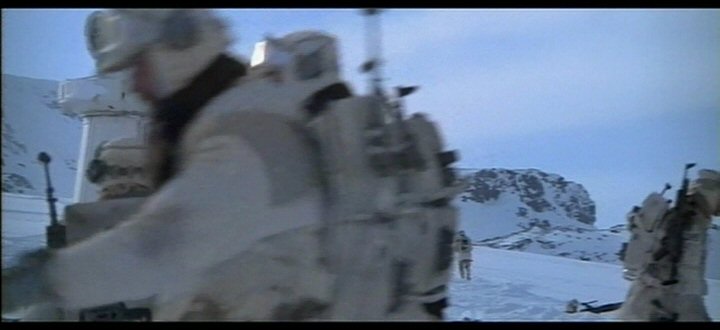
A forward part of the rebel trenches. Knobbly hills are visible in the background. This rebel appears to be facing north or northwest. |
|
||
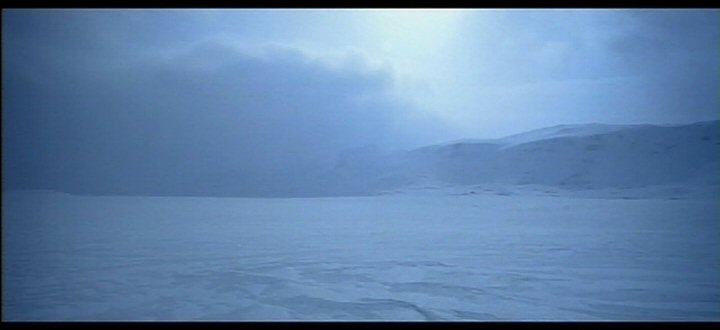
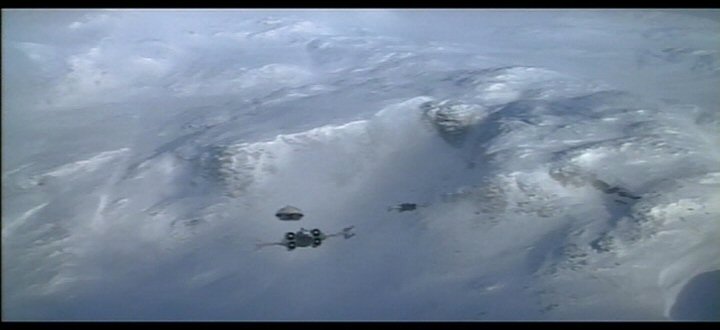
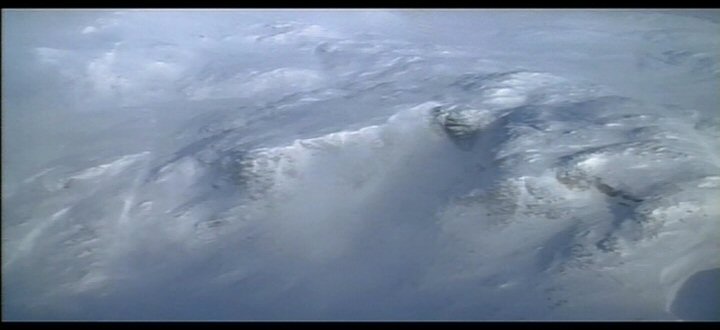
| A003 |
|
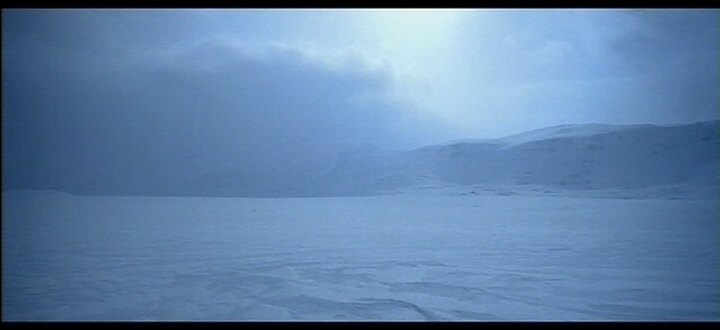
View across the plains, towards the North Ridge. Mist beyond the ridge blows from east to west in the wind. The mist may have been created by the Imperial landing. |
|
||
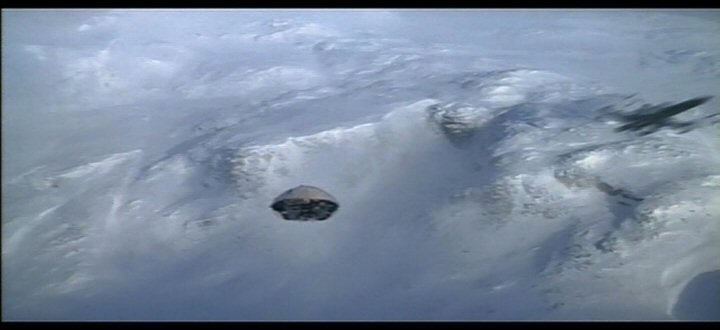
| A004 |
|
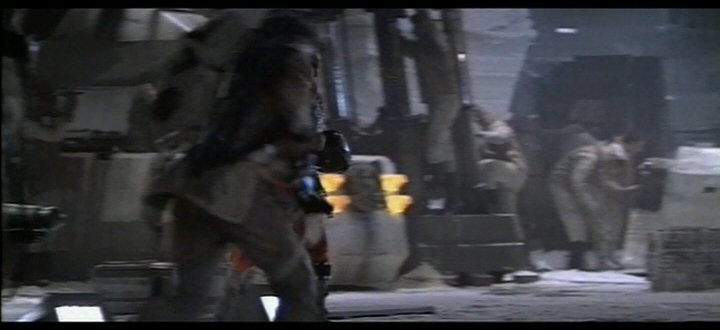
Rebels prepare for battle near knobbly hills at the west end of a flat icy plain. |
| A005 |
|
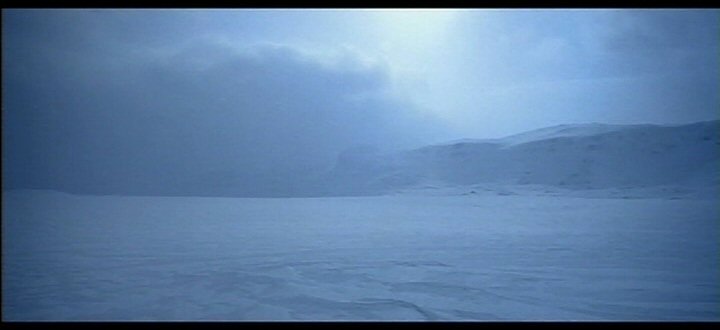
View across the plains, towards the North Ridge. Mist beyond the ridge blows from east to west in the wind. The mist may have been created by the Imperial landing. |
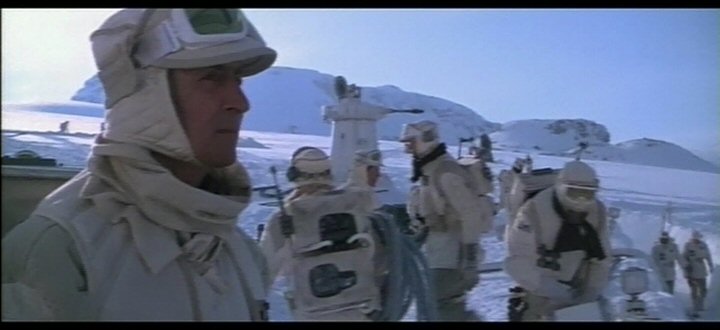
| A006 |
|
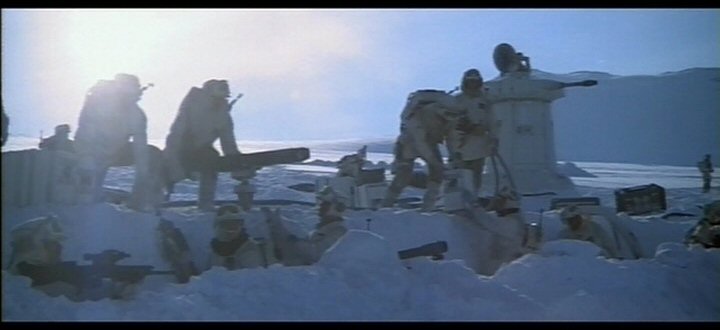
Just after dawn, rebel defences being assembled north of the rebel base. The camera faces east. The mountain range to the south contains the rebel base. To the east and northeast there are flat, open plains. |
| A007 |
|
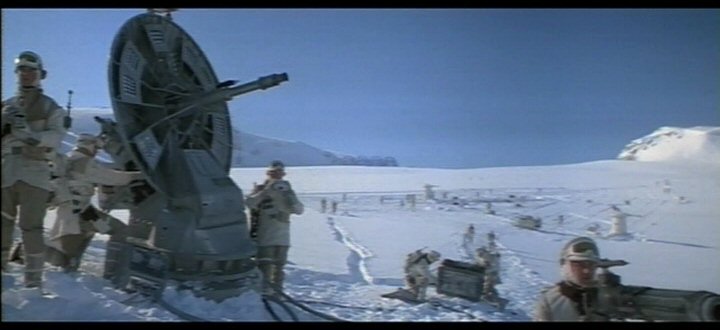
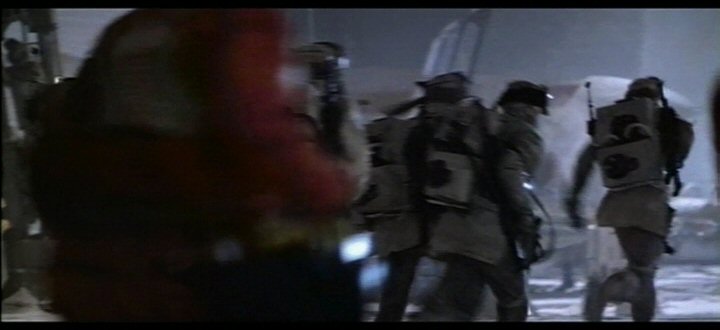
Part of the rebel trench system to the north of the mountain ranges that contain the base. The power generator is visible in the middle background, at one end of the mountain range, beyond a pass between the mountains and a line of western hills. The rebels are looking downhill the sun shines from somewhere off the left side of the picture. The camera is facing approximately southwest. |
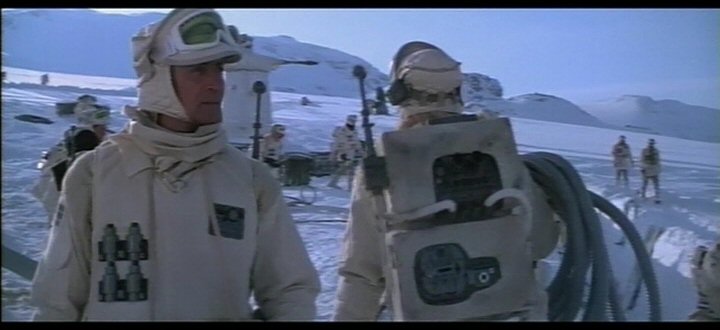
| A008 |
|
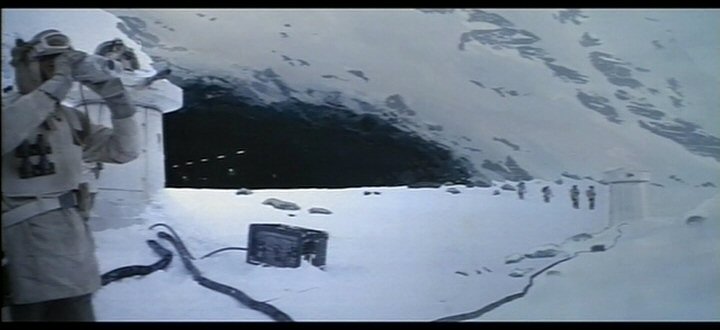
Outside the north entrance of the rebel base. |
| A009 |
|
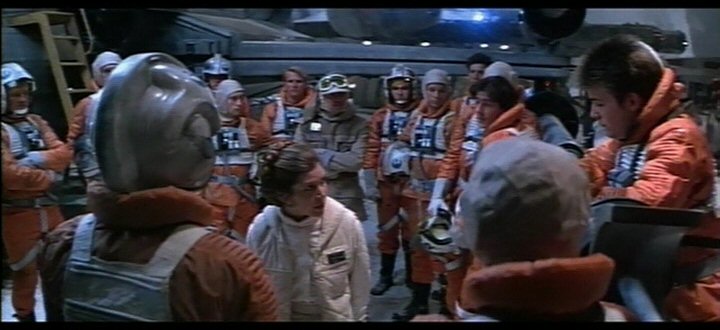
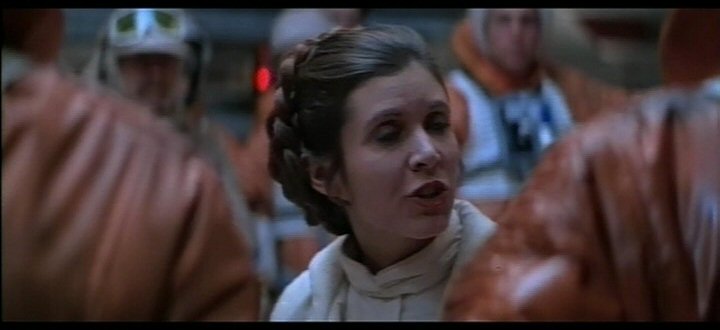
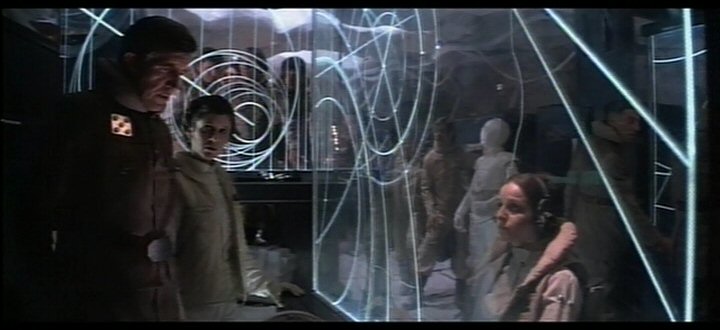
Rebel command centre. |
| A010 |
|
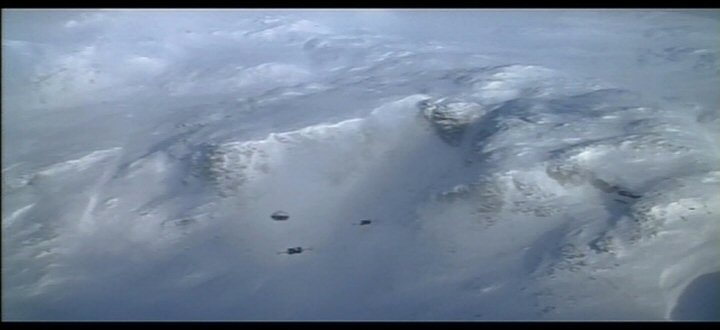
The first transport and its two escorting fighters launch from the South Slopes. The camera is looking north. The mountain range is probably an extremity of the range that contains the rebel base. |
|
||
|
||
|
||
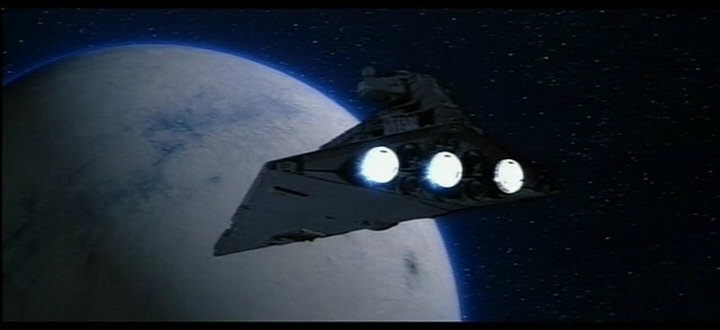
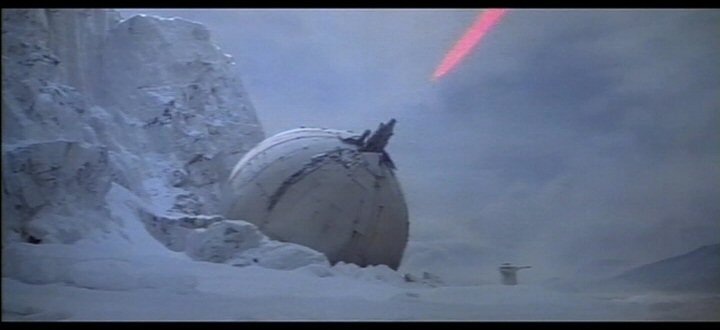
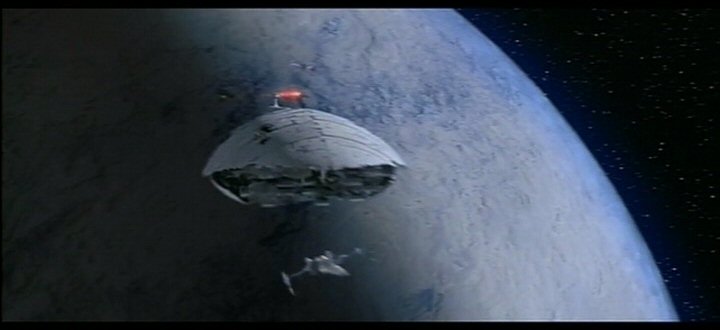
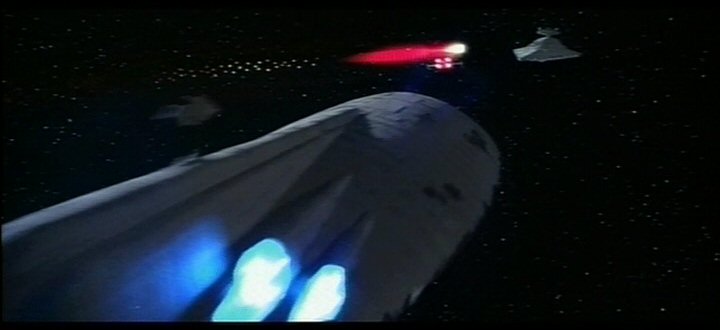
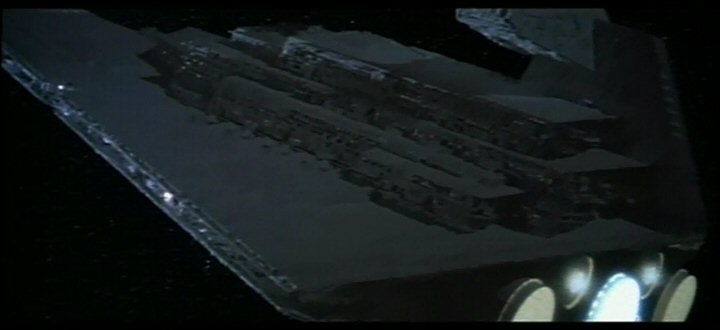
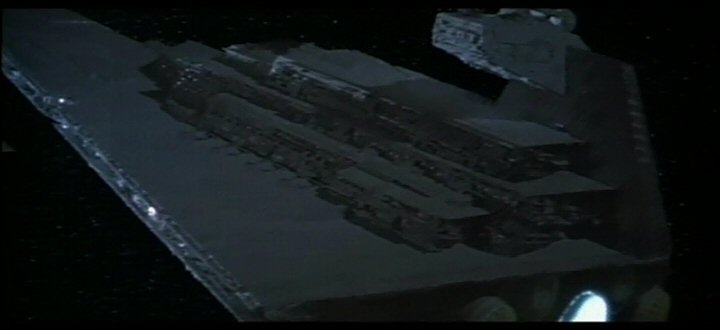
| A011 |
|
Star destroyer Tyrant in orbit over the planet Hoth. The dark smudgy area on the planet is intriguing. Is it the shadow of a moon, or soot from a volcano or astroid impact? Moonshadow seems more likely. |
| A012 |

|
Captain Lennox aboard the star destroyer Tyrant. |
| A013 |

|
Rebel command centre coordinates the transport launch, temporaru deactivation of the shield, and ion cannon firing. |
| A014 |
|
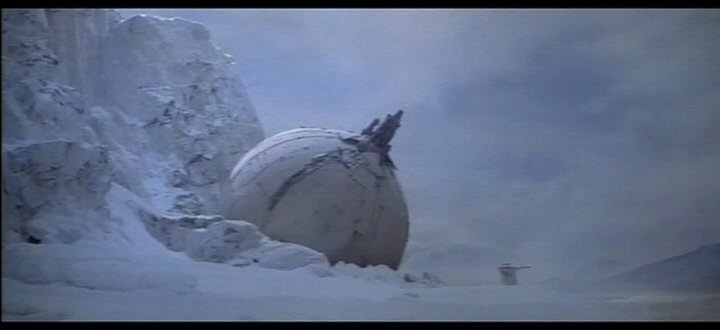
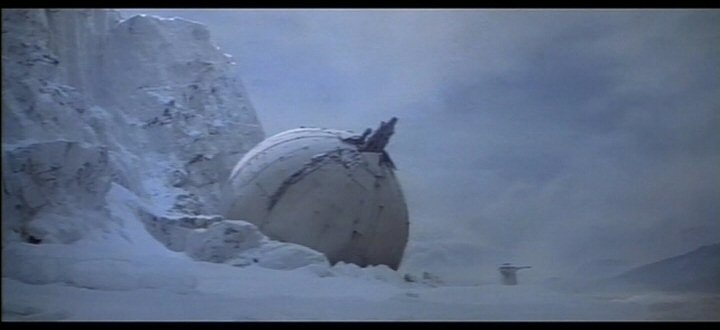
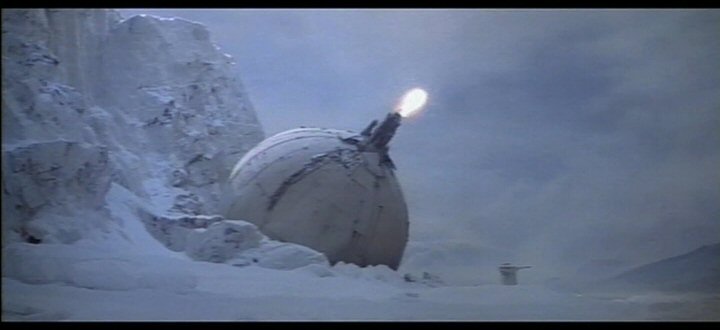
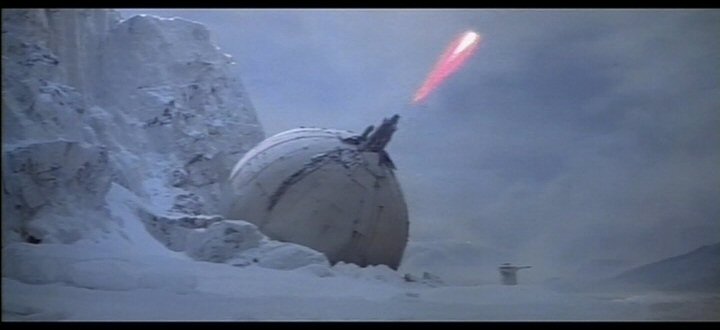
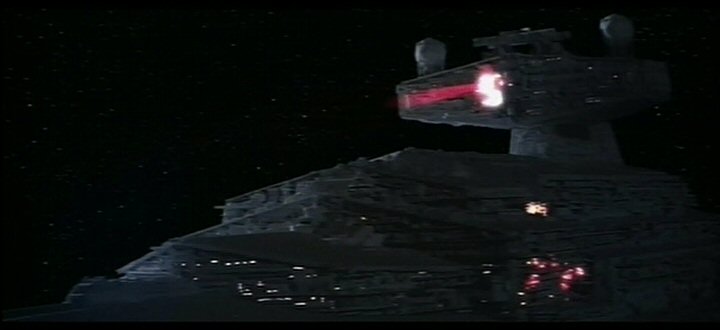
The ion cannon fires at a star destroyer. Judging by the illumination, the camera is facing east. The cannon is on the south side of a steep cliff. This is probably on the south side of the mountain range that contains the base, because the Imperial forces need to go past the generator before reaching the ion cannon. The ion cannon is probably between the generator and the South Entrance evacuation area, because the Imperials do not reach the southern entrance until after the last transport has departed. A laser cannon turret in front of the ion cannon demostrates the immense scale of the anti-orbital weapon. |
|
||
|
||
|
||
|
||
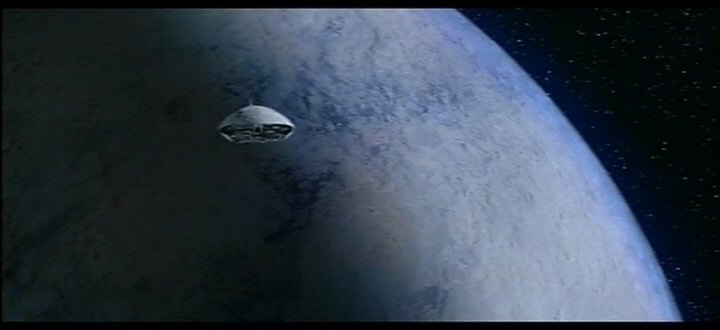
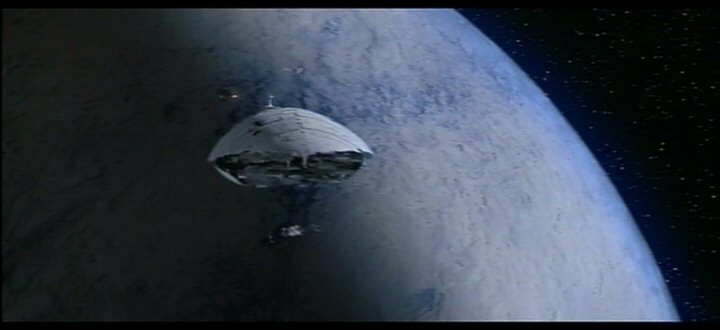
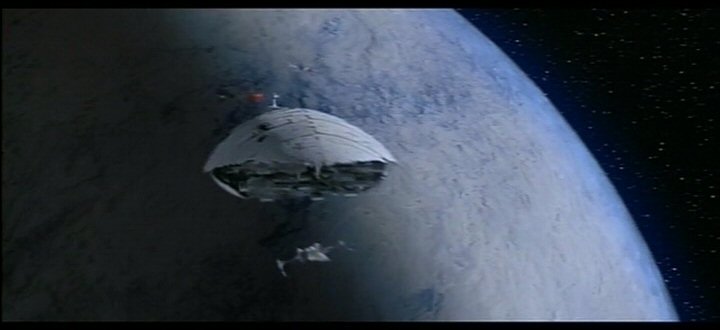
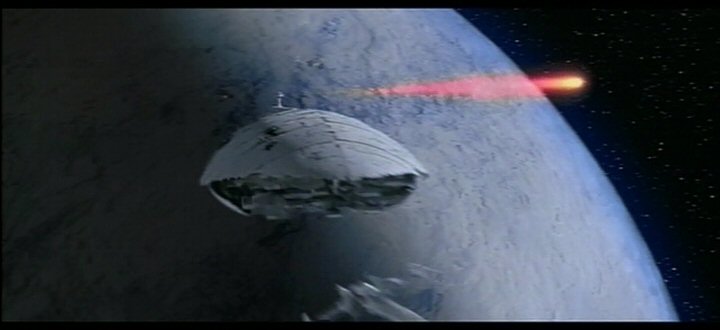
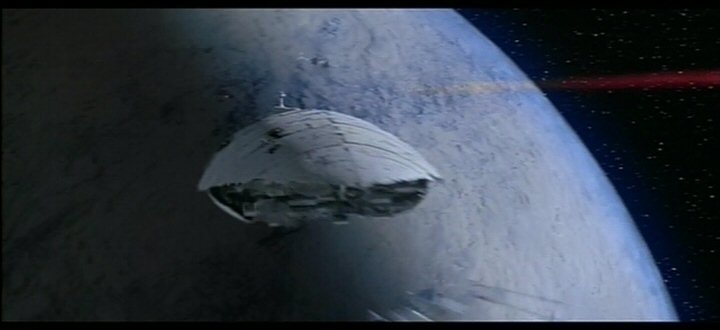
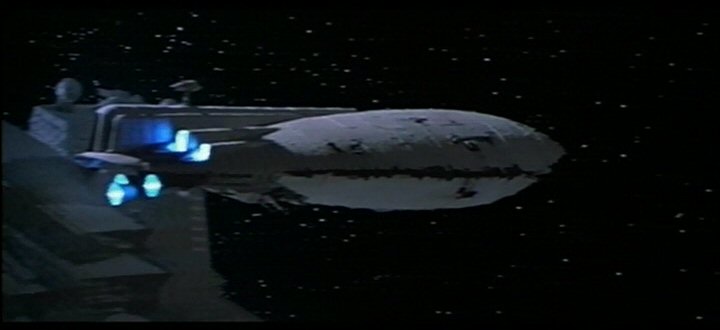
| A015 |
|
Rebel transport and its escort move away from the sphere of Hoth. Ion cannon fire from a point near the morning terminator overtakes the ships. The ships must have launched just after dawn. |
|
||
|
||
|
||

|
||
|
||

|
||
|
||
|
||
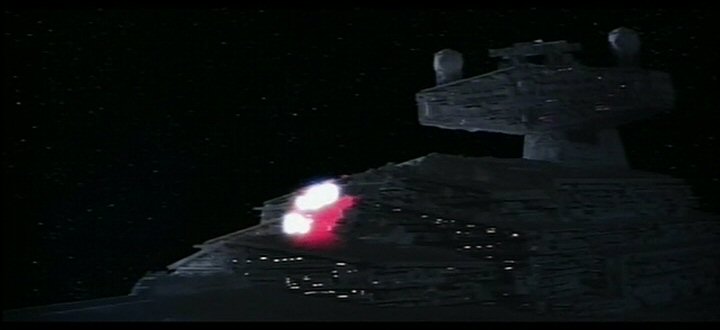
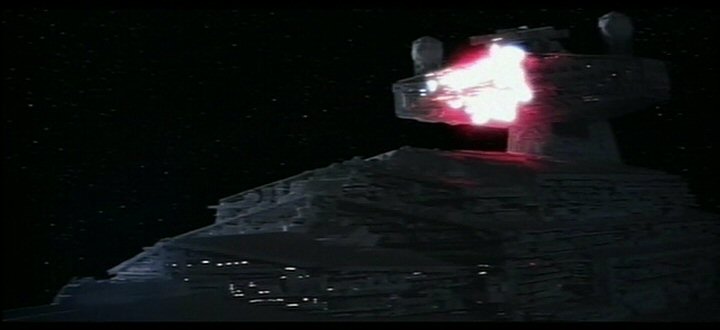
| A016 |
|
Ion cannon fire flies towards the star destroyer Tyrant. |
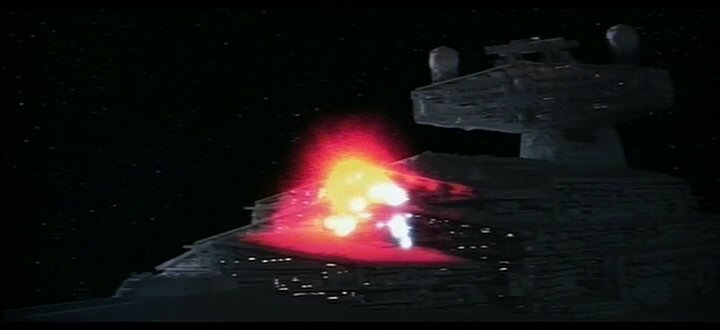
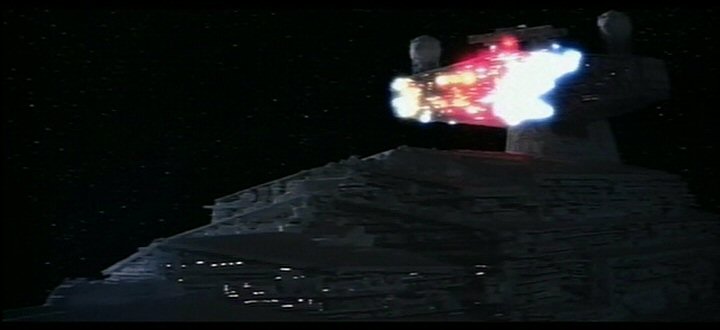
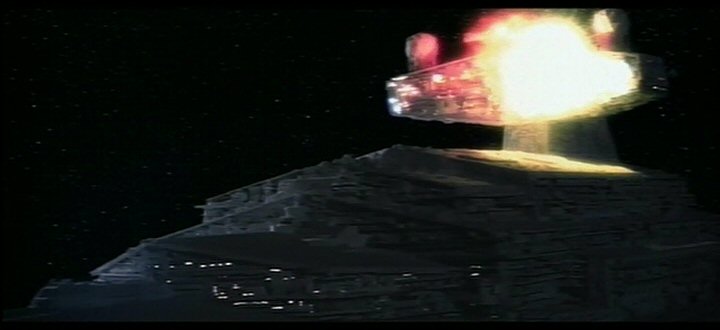
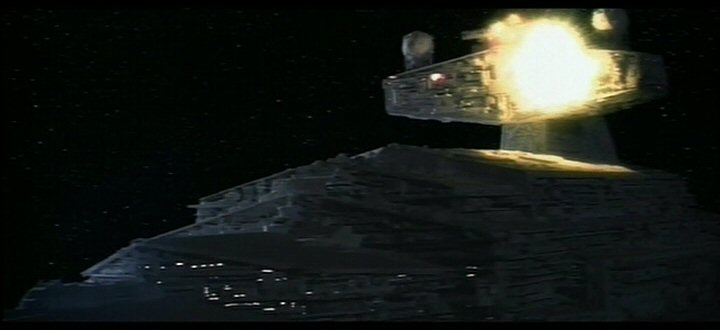
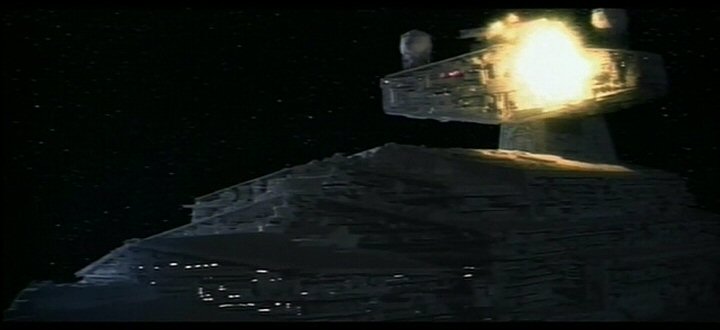
| A017 |
|
Ion cannon shots strike the dorsal terraces of a star destroyer. The remnants of the bolts and induced electrical effects propagate along surfaces in a most interesting manner. |

|
||
|
||
|
||
|
||
|
||
|
||
|
||
|
||
|
||
|
||
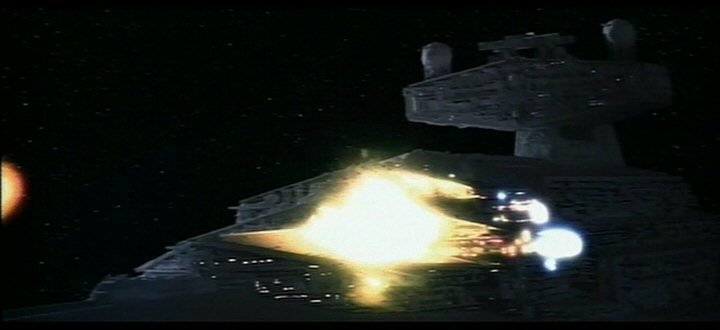
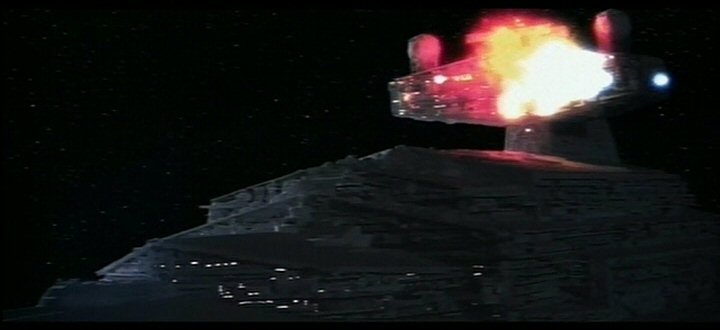
| A018 |
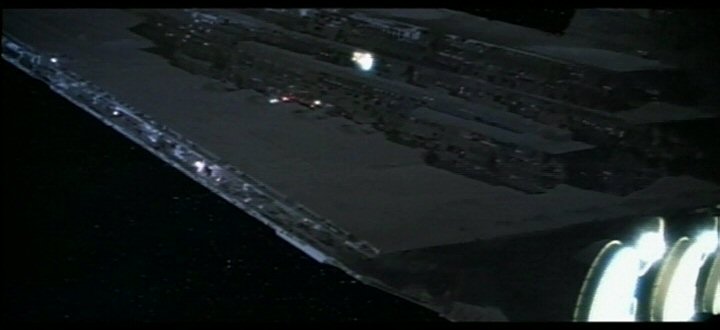
|
The star destroyer's ion engines sputter and blink out. Is this due to direct disruption of these electromagnetic devices, or is it due to a failure of the ships power or control systems? |

|
||
|
||
|
||
|
||
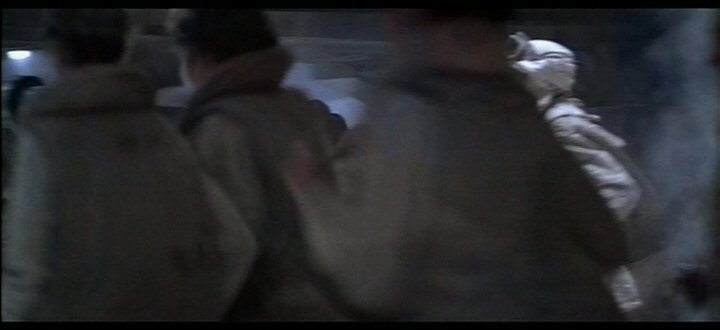
| A019 |
|
A group of apparently female rebels, running somewhere inside the base. Their attire is similar to Princess Leia's: like service personnel rather than frontline combat troops (who wear white jackets). |
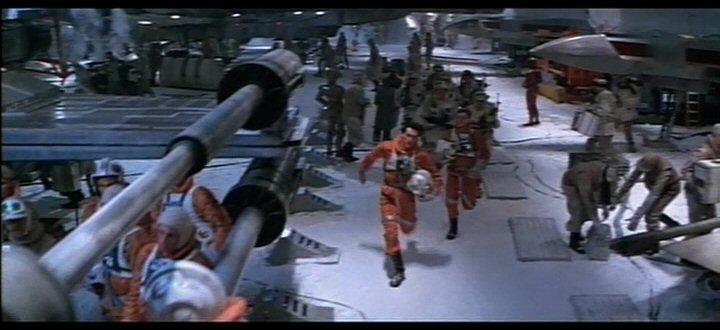
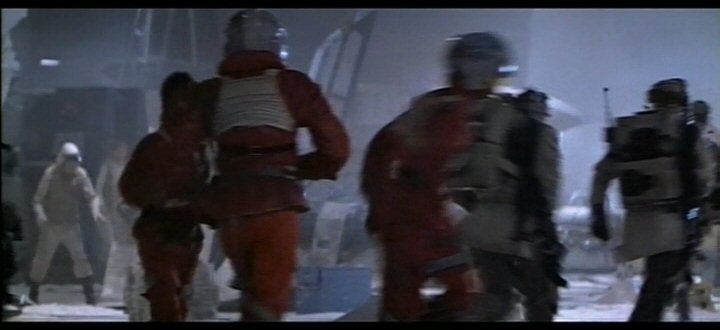
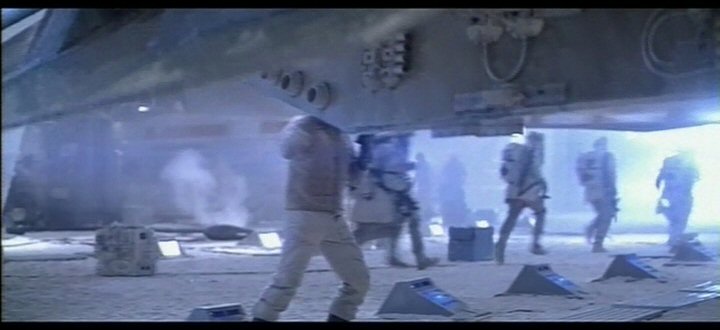
| A020 |
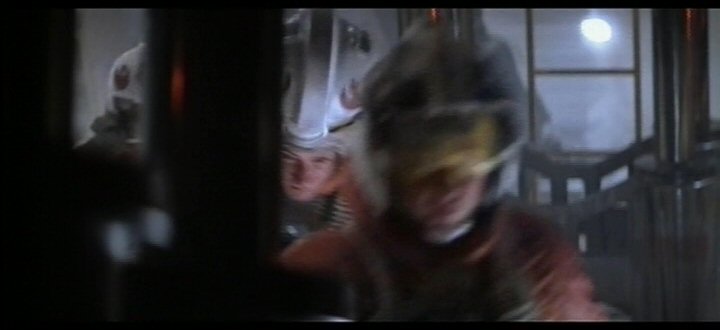
|
Rebel pilots race to their snowspeeders. Two pilots have helmets with basic emblem designs, one has a more complicated, personalised insignia indicative of a veteran. |
|
||
|
||
|
||
|
||

|
||
|
||
|
||
|
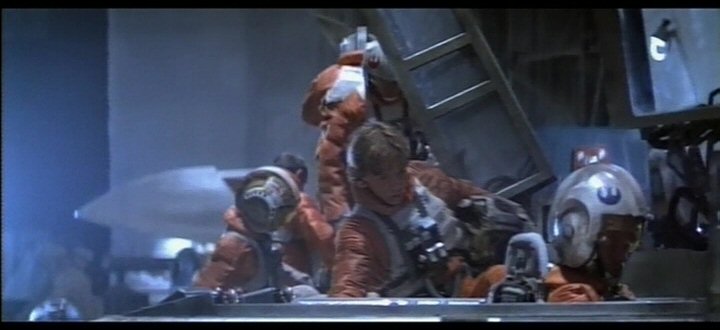
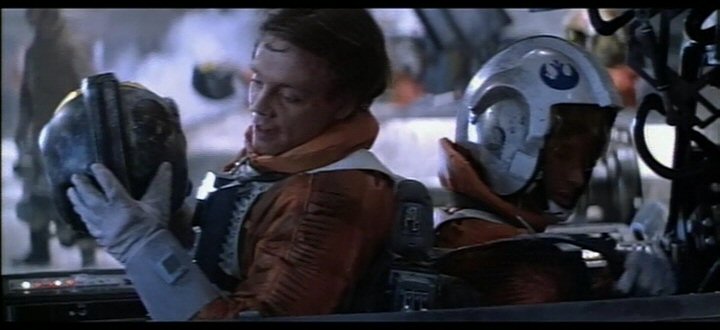
Luke and Dack enter their snowspeeder, Rogue Leader. Two more snowspeeder pilot/gunner duos are visible in the background. Beyond the three visible snowspeeders there is the nose of one X-wing fighter. Luke's helmet insignia are almost the same as during the Battle of Yavin, but dirtier. Dack has a plain blue logo. In the snowspeeder crew behind them, the pilot has a complicated helment pattern while the gunner has a plain red logo. The helment insignia are not visible on the most distant pair, but the dark-haired pilot is not yet wearing his headgear. |
|

|
||
|
||

|
||
|
This page was constructed and is maintained by
Curtis Saxton.
This page is neither affiliated with nor endorsed by Lucasfilm Ltd.
Images included in or linked from this page are copyright Lucasfilm Ltd. and are used here under Fair Usage terms of copyright law.
This site is kindly hosted by TheForce.net.